You have about eight seconds to catch a buyer’s eye online. In a market where many Edmond homes are well cared for and priced in a similar range, presentation is the edge that turns a scroll into a showing. If you plan to list in the next few months, you might be wondering how to prepare without moving out or spending a fortune. In this guide, you’ll learn how occupied staging helps Edmond homes stand out, what it costs, where to focus for the best return, and a simple timeline to follow. Let’s dive in.
Why staging matters in Edmond now
Edmond’s market is competitive and more balanced than the frenzy of recent years. Recent snapshots show a median sale price around $375,000 and days on market in the mid-50s. That means buyers have options, and your home needs to rise to the top of their list quickly.
Local demographics shape expectations too. Edmond reports a higher median household income and higher median owner-occupied home value than many Oklahoma areas. Those factors often translate into buyers who value space, low short‑term maintenance, and homes that feel move‑in ready. You’ll capture more interest when your listing checks those boxes. You can see the city’s baseline figures in the U.S. Census QuickFacts for Edmond.
Online first impressions rule
Most buyers start their search online. According to the National Association of REALTORS, buyers and agents rank high‑quality photos and physical staging among the most important listing features. When your rooms are styled and photographed well, you get more clicks, more saves, and more showings. See highlights from NAR’s recent buyer and seller research on how photos and staging influence buyer decisions.
NAR also notes a growing share of older buyers and cash purchases in some markets, which puts extra value on turnkey presentation and practical updates. That dynamic shows up locally when well‑presented Edmond homes resonate with both repeat and downsizing buyers. Read more in NAR’s overview of recent buyer composition and preferences.
What occupied staging is and why it works here
Occupied staging is a targeted refresh of your lived‑in home using your existing furniture plus selective styling. It focuses on editing, rearranging, lighting, neutralizing, and day‑of photo prep rather than full furniture rental. For a clear definition and typical approach, see this overview of occupied home staging.
Why it fits Edmond sellers:
- Lower cost than vacant staging with strong visual impact.
- Faster turnaround so you can list on schedule.
- Warm, lived‑in look that resonates in suburban settings.
- Ideal when you need to keep daily life running while you prep.
What staging can return
You don’t need to guess at the impact. NAR’s 2025 staging findings report that staging often reduces time on market and can modestly increase offers, with many agents observing a 1–10% uplift when homes are staged. The living room, primary bedroom, and kitchen ranked as the highest‑impact rooms. Review the key takeaways from NAR’s staging report summary.
Typical costs and how to think about ROI
- National median professional staging service: about $1,500, per NAR’s profile summary. See the NAR report highlights.
- Consultation fees: typically $150–$600.
- Occupied staging projects: commonly $800–$2,500 depending on rooms and scope.
- Full vacant staging: often $2,000–$5,000+ to start, with monthly rental fees.
For ranges and examples across the industry, review Thumbtack’s home staging cost guide. To evaluate ROI, compare your staging cost to the potential uplift plus the savings from a faster sale. When budget is tight, concentrate your spend on the rooms buyers value most.
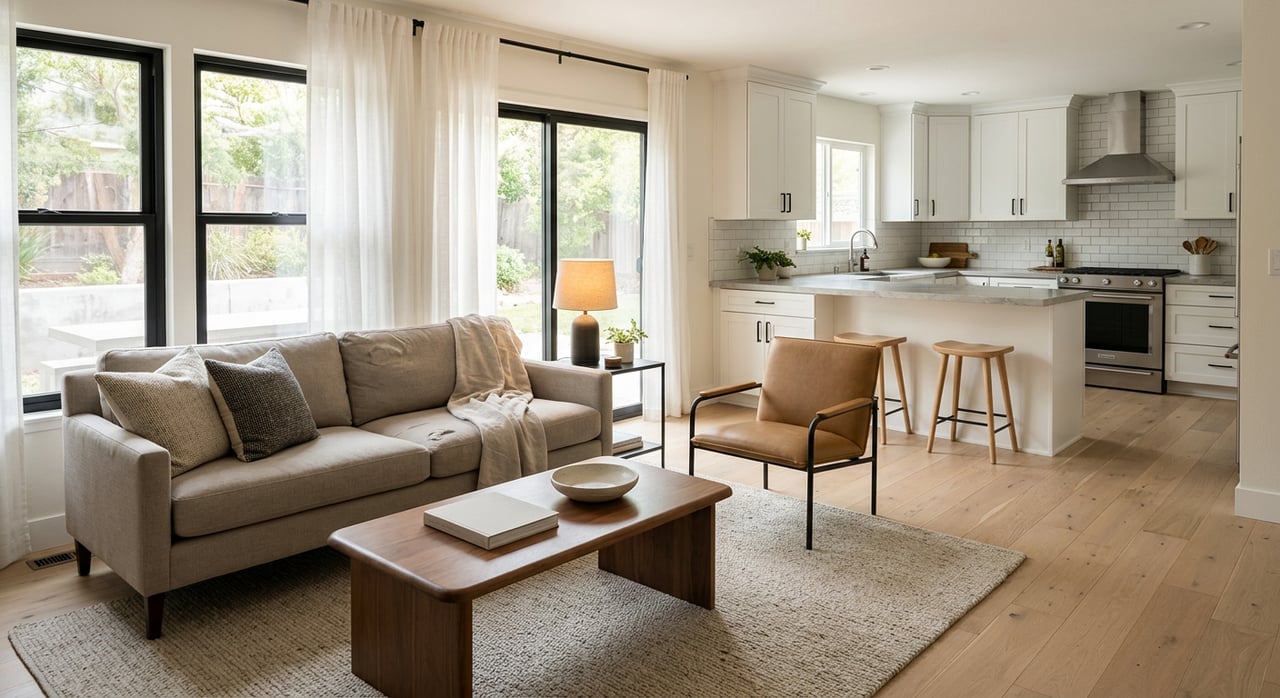
Focus on the top three rooms
NAR ranks the living room, primary bedroom, and kitchen as the most influential rooms for buyers. Start here for the biggest return on time and money.
Living room: your first priority
- Edit furniture to show clear walkways and one main conversation area.
- Remove oversized or worn items and add a few neutral textiles for texture.
- Maximize natural light and keep surfaces clear for photos. For a practical checklist, see this pre‑staging guide.
Primary bedroom: calm and move‑in ready
- Make the bed the focal point with crisp, neutral bedding and layered pillows.
- Remove extra dressers or chairs so the room feels spacious.
- Keep nightstands clear with two balanced lamps for warm light. See more tips in the staging checklist.
Kitchen: clean and simple sells
- Clear countertops, limiting to two or three styled items.
- Deep clean appliances, grout, and sinks; swap dated hardware if budget allows.
- Organize visible storage so it photographs tidy and functional. Refer to the room‑by‑room checklist.
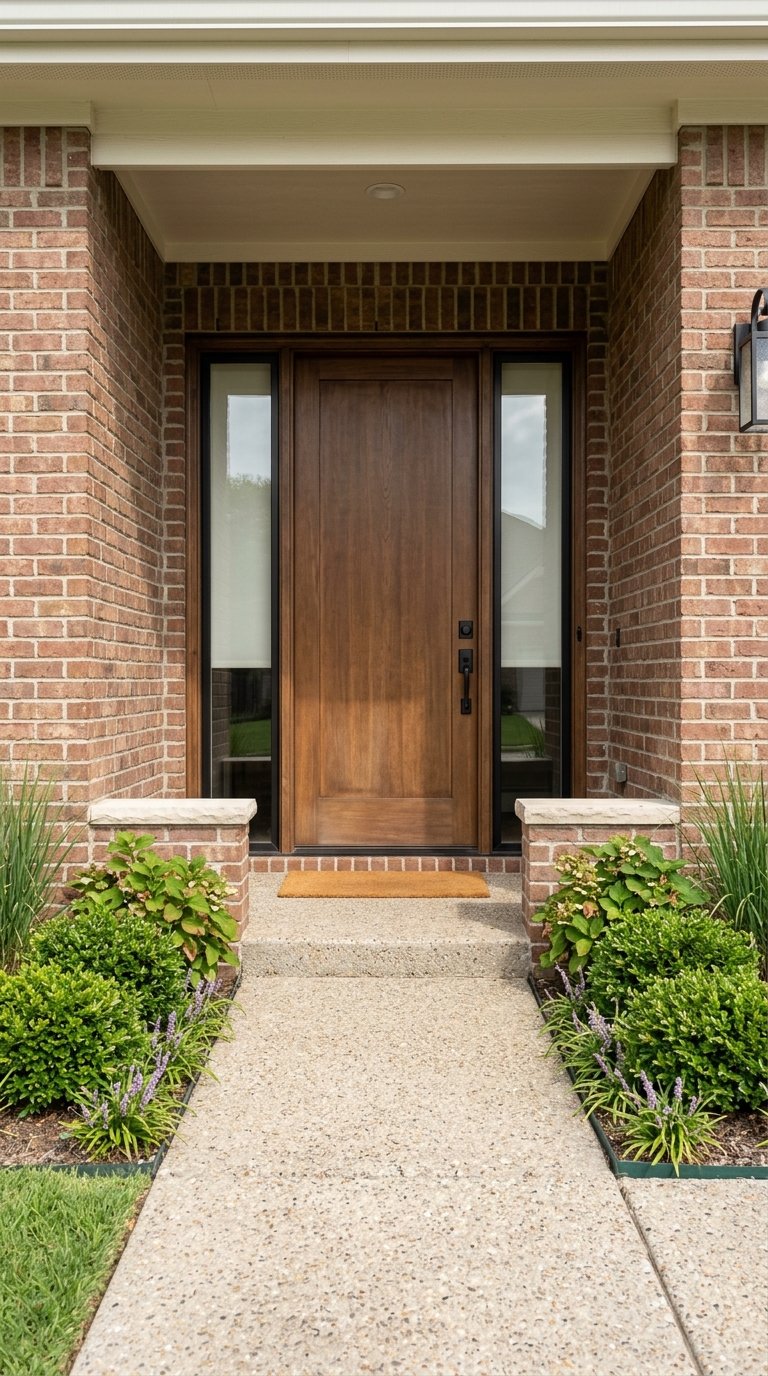
Boost curb appeal and your entry
Your front photo is the most clicked image on your listing. Simple upgrades go a long way:
- Freshly mow and edge.
- Pressure wash the walk and drive.
- Refresh the front door with paint and clean hardware.
- Add potted plants for color and scale. For more quick wins, use this step‑by‑step checklist.
A simple 6–8 week plan to list with confidence
This timeline mirrors what we recommend with our in‑house, occupied‑staging approach and keeps you on track without rushing.
Week 6–8: Strategy session and consult
- Walk‑through to prioritize repairs, upgrades, and staging scope.
- Decide which rooms to stage vs. lightly style.
- If you want a pro plan only, schedule a consultation. Typical fees run $150–$600 per industry cost guides.
Week 5–6: Quick fixes and decluttering
- Touch up paint, fix leaky fixtures, replace outdated bulbs.
- Pack personal photos and collections to neutralize.
- Edit furniture to fit the flow of each room.
Week 4–5: Occupied staging and styling
- Rearrange for better sightlines and scale.
- Add 3–6 accessories where needed for warmth and balance.
- Conduct a focused styling session for photo day.
Week 3: Photo and media day
- Book professional interior and exterior photos, including a twilight shot if appropriate.
- Consider a simple video, 3D tour, or floor plan for added context.
- High‑quality media increases perceived value and speeds buyer decisions. Here’s why polished visuals matter, as summarized in this photography ROI overview.
Week 2: Listing launch
- Go live with complete media and compelling remarks.
- Maintain the staged look for every showing and open house.
Weeks 1–4 on market: Monitor and adapt
- Track online views, favorites, and showing feedback.
- If momentum slows, refresh photos, adjust styling, or refine price based on data. NAR’s staging findings support making your strongest presentation early.
Occupied‑staging checklist you can start now
- Book a consult and create a room‑by‑room plan.
- Deep clean top to bottom; touch up paint in high‑traffic areas.
- Declutter and depersonalize shelves, counters, and walls.
- Swap heavy curtains for lighter panels and add higher‑watt bulbs where needed.
- Rework furniture for flow and symmetry.
- Add fresh bedding and neutral art in priority rooms.
- Style the day before photos: clear counters, make beds, coordinate window treatments, and turn on lamps. For a full list, follow this pre‑staging checklist.
Your photo and media plan
Photos are the first showing. Pair your occupied staging with a tight media package:
- Interior and exterior photos capturing natural light and clear angles.
- One twilight exterior to showcase curb appeal.
- Optional 3D tour, video highlight, or floor plan for clarity. See how quality media supports faster sales in this photography impact summary.
Smart budget examples
- Consultation only: $150–$600 for a pro plan you can DIY, per Thumbtack’s guide.
- Occupied staging focus (living, primary, kitchen): $800–$2,500 depending on scope, also supported by industry ranges.
- Professional photography: roughly $200–$600+ depending on package and add‑ons. Learn why this is a high‑value spend in this media overview.
- Full vacant staging (if home is empty): $2,000–$5,000+ to start, plus monthly rental fees.
Common Edmond scenarios and quick wins
- If you’re juggling work and school routines, concentrate on the living room and primary bedroom first. These two rooms set the tone online and in person.
- If your buyer pool may include downsizers or cash buyers, emphasize easy maintenance: fresh paint, cleaned grout, and updated lighting or hardware can help.
- If your home has flexible spaces, define them clearly. A tidy office nook or workout corner photographs better than a catch‑all room.
Ready to launch with a plan?
Preparation is strategic, not cosmetic. When you pair smart pricing with occupied staging and strong media, you give buyers reasons to act quickly and confidently. If you want a clear, step‑by‑step path tailored to your home, our in‑house Home on Stage service, led by a Certified Home Stager, can help you get photo‑ready without moving out. Connect with Gina Underwood to map your timeline, staging plan, and pricing strategy, and get a Free Home Valuation today.
FAQs
Will staging delay my listing in Edmond?
- With a plan, no. Many occupied staging plans finish in 2–3 weeks, and industry timelines suggest starting prep 6–8 weeks before your target date. See a detailed checklist and timing guidance in this pre‑staging guide.
Is DIY staging enough, or do I need a pro?
- A consultation plus selective DIY can capture much of the benefit, especially if you focus on the top 2–3 rooms and invest in photos. For budgeting direction, review these cost ranges.
Which is better: occupied or vacant staging?
- Occupied staging is usually faster and more cost‑effective when you’re living in the home. Vacant staging offers full design control and is useful when the house is empty or at certain higher price points. Learn more about occupied staging basics.
How much should I budget for occupied staging?
- Many projects fall between $800 and $2,500 for priority rooms, with consults from $150 to $600. See detailed ranges in Thumbtack’s cost guide.
Do staged homes really sell faster or for more?
- NAR’s 2025 findings report that staging often reduces time on market and many agents observed a 1–10% uplift in offers for staged homes. Explore the NAR staging summary.